Step 6. Install the Social Rabbit Plugin
What is Social Rabbit? It is a plugin that provides “smart posting” with a reasonable proportion of commercial posts and neutral niche visual materials. It makes your accounts look diversified, attractive and “human-like”.

- It has one-time simple settings that allow for fully automated posting to Facebook, Instagram, Twitter, and Pinterest.
- It grows quality traffic from social media by 5-10 times!
- It allows website owners to focus on other activities and not worry about social media.
Let’s install it!
Step 1. Login to your WordPress Dashboard.
Step 2. Go to the ‘Plugins’ section and click the ‘Add New’ button.

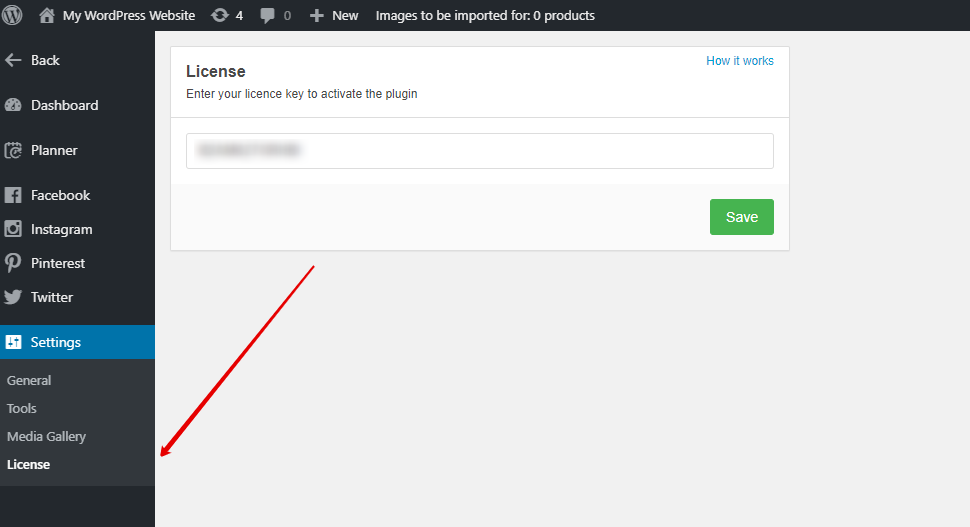
Step 3. Choose the setup file and press ‘Install Now’. Upload it and use the ‘Activate Plugin’ button. Social Rabbit section will appear on the left, go there and enter your license key.
Step 4. Adjust Rabbit’s settings according to your needs. See the detailed instructions in the next article.
4 Comments sorted by Votes Date Added
I would like to reinstall the Social Rabbit plugin in my website. Could you please advise me where I can get the plugin installation files? I already have the licence for the plugin.
You should contact tech support of AliDropship - support@alidropship.com. Guys will gladly help you :)
I have social rabbit installed/activated and authorized in FB, Instagram, twitter, but the ads shows only me can see the adverts other people are not seeing them. How do I make other people to see those auto ads.
Hi! Social rabbit doesn't do ads, it creates posts on your social media pages. With all the questions about Social Rabbit, you can contact its tech support at support@socialrabbitplugin.com
Leave your comment