Step 5.4. Create and set up your store accounts in social networks: Pinterest
Pinterest is a powerful platform that is used to search for interesting and useful business and hobby ideas or to compile shopping or wish lists. This article will tell you how to correctly create Pinterest account for your store to promote your products with its help.
Step 1. Create a business profile on Pinterest
Go here: https://pinterest.com/business/create
If you already have your personal profile, you can create a business one or switch yours to a business profile.
Click on the three dots in the right corner and select ‘Add a free business account’.
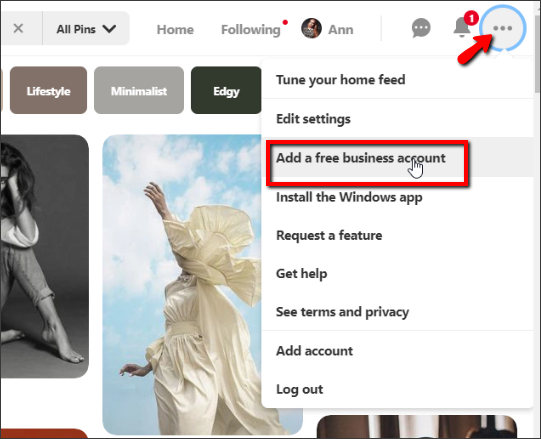
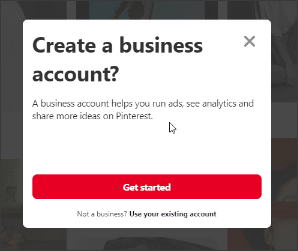
A business account allows you to run ads, see analytics and share more pins on Pinterest with your product pictures, descriptions and links to your store. Select ‘Get started’.
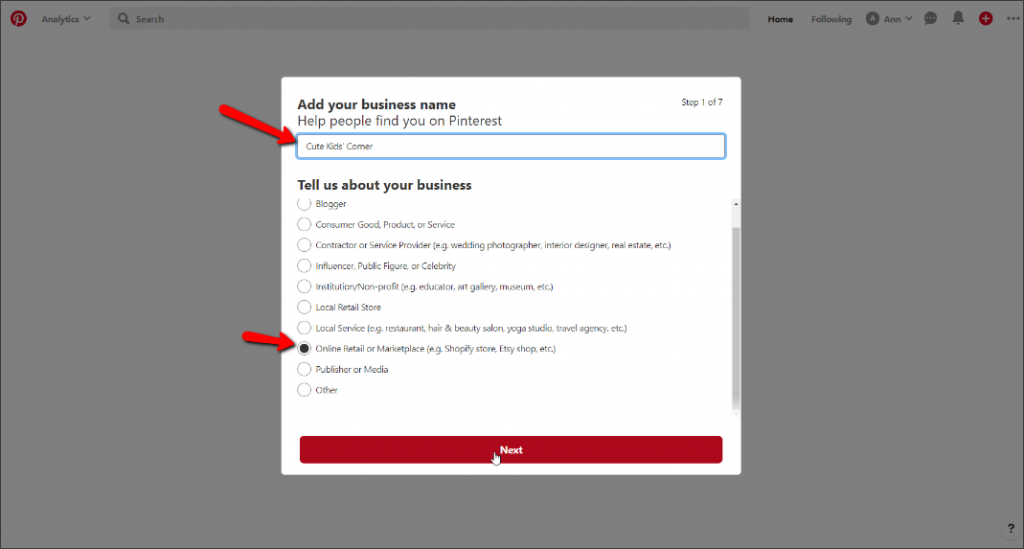
Then you should put your store name and select the relevant category. We advise choosing ‘Online Retail or Marketplace’. Then click ‘Next’ to move to the next step.
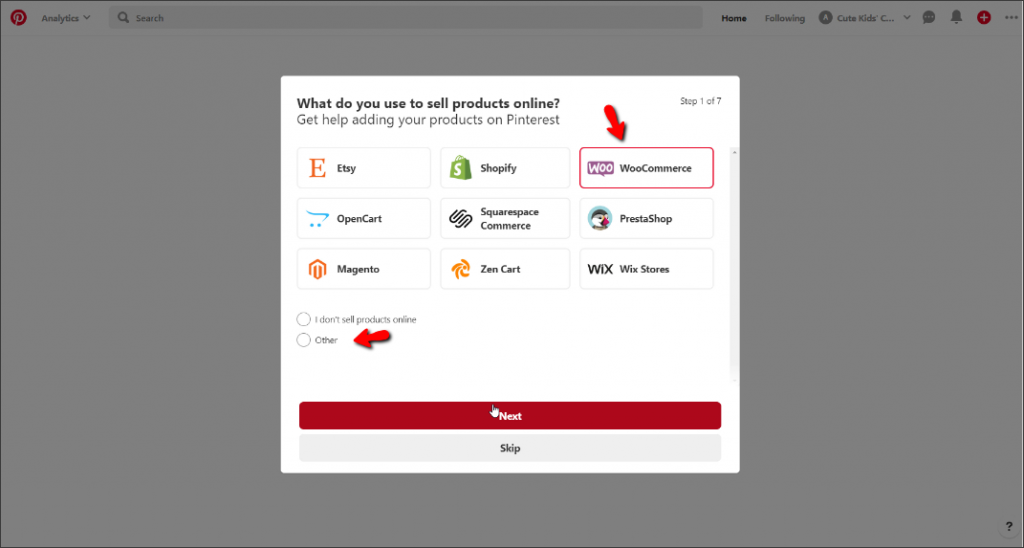
As long as our website is built on WordPress with WooCommerce, we select ‘WooCommerce’. Choose your platform or select ‘Other’. Click ‘Next’.
Put your business email to be updated with your account news. Click ‘Next’.

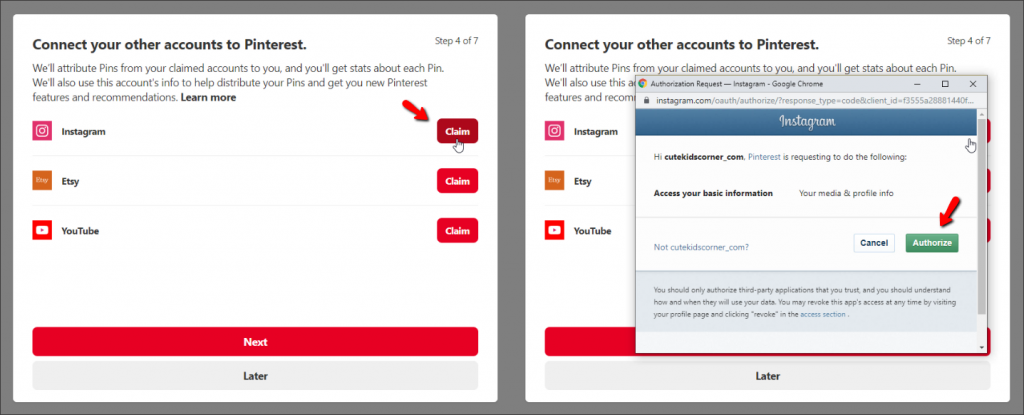
You can connect your Instagram, Etsy, and YouTube accounts to your Pinterest Business account. We’ve already created an Instagram account for our store, so we can claim and authorize it. If you want to do this later you can skip this step. Click ‘Next’ or ‘Later’.
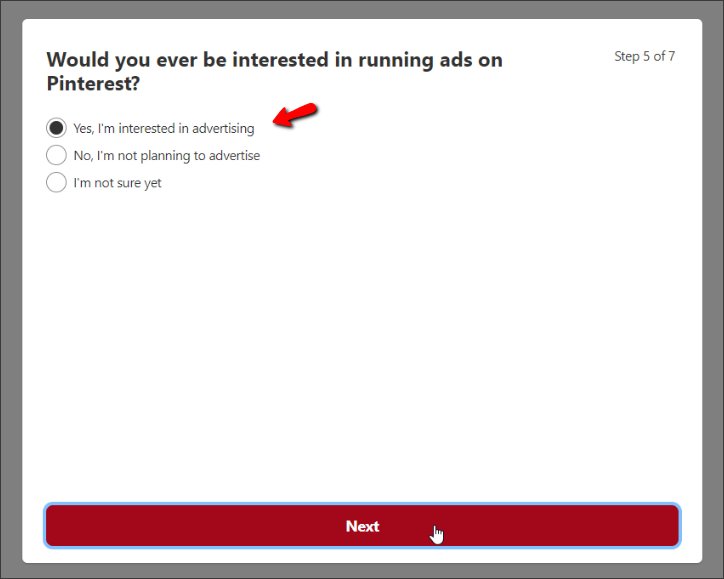
If you’re planning to run ads in the future via Pinterest select ‘Yes, I’m interested in advertising’. Click ‘Next’.
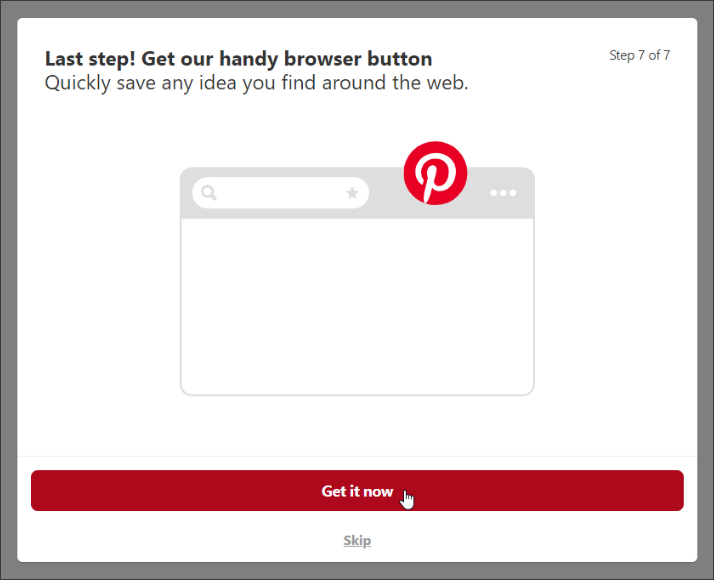
You can add a Pinterest extension to your browser. It gives you an opportunity to save pins from different sites. It can be very handy, this extension is really useful for collecting ideas for your store promotion on the web. Click ‘Get it now’ or ‘Skip’.
Then you can immediately add some pins to your Pinterest account. Simply select several images of your store products suggested by Pinterest and press ‘Create’.
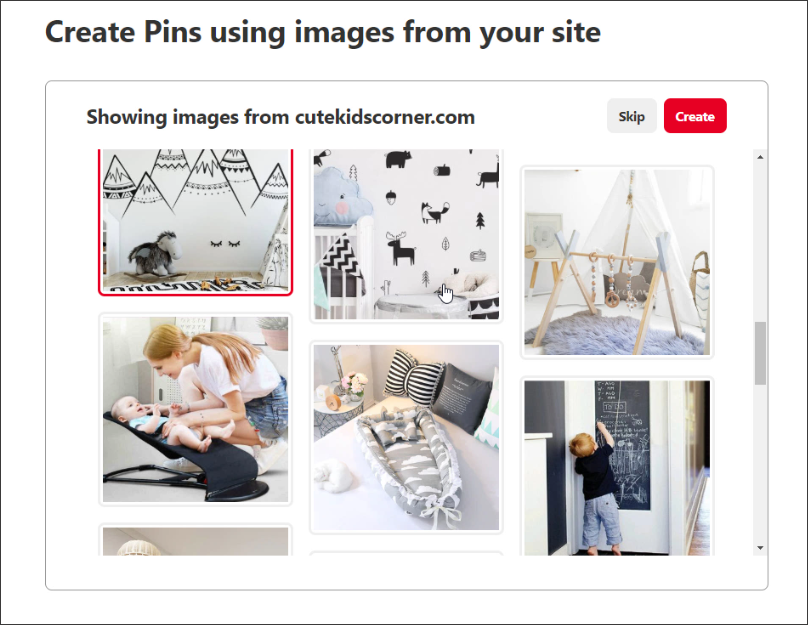
After that, all the selected images will be added to your board and generate your Pinterest cover photo.
Step 2. Edit your store profile and make it look perfect
Go to the settings.
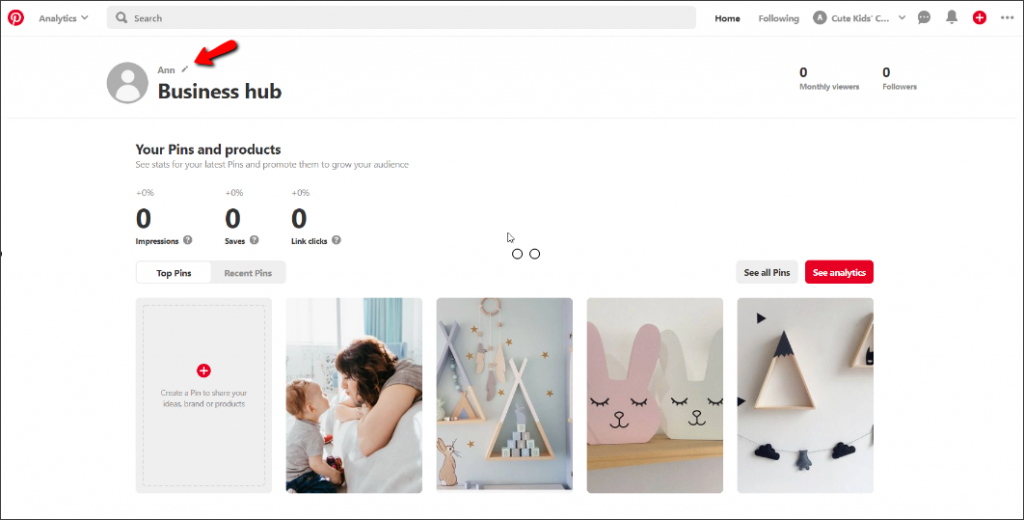
Set up the main settings.
Edit profile
Here you’re offered to change the Display name and Username, if you like, upload the profile photo, add your profile info text and set the location. Start with changing your photo. We strongly recommend to use your store logo as the profile avatar – Pinterest users will easily recognize your store’s posts (called pins) this way.
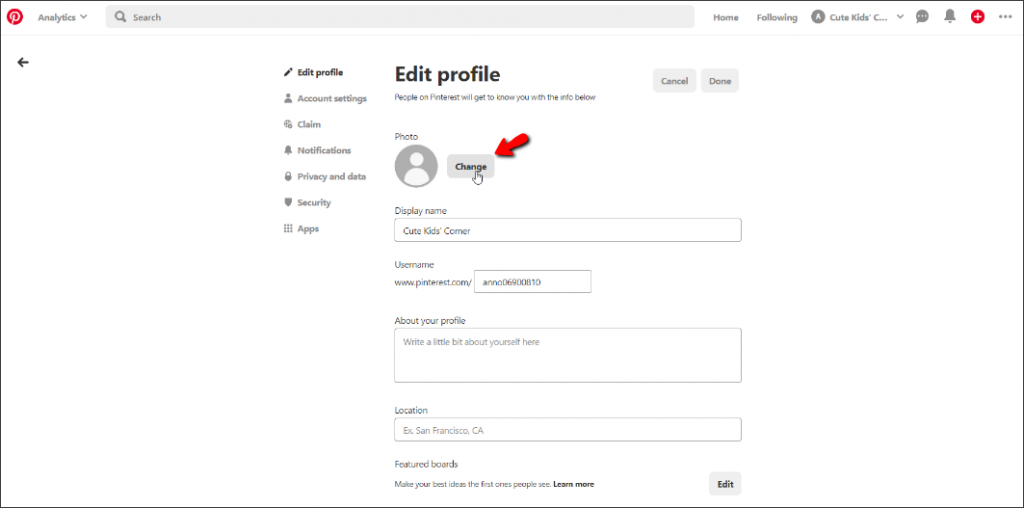
To learn more about your store, potential customers usually look through your store profile. So, fill out the ‘About your profile’ field for them and mention your store benefits.
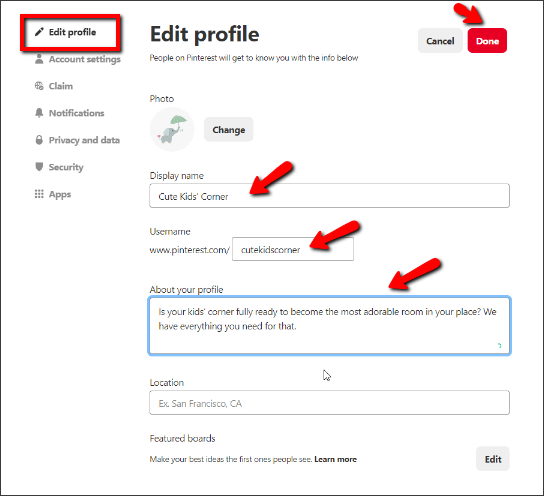
Save changes by clicking ‘Done’.
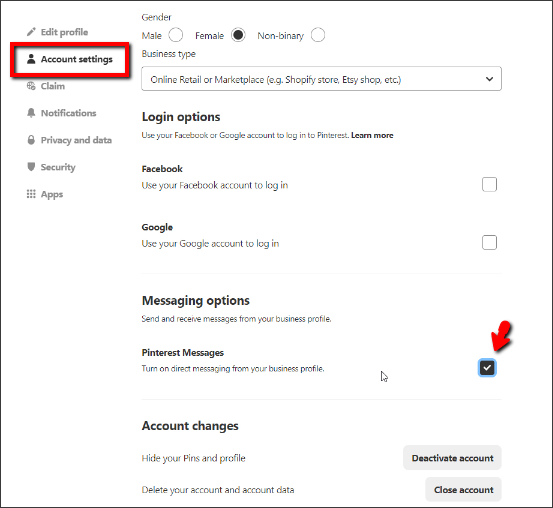
Account settings
In the Account settings, you can allow direct messaging and change the Login options if you want to.
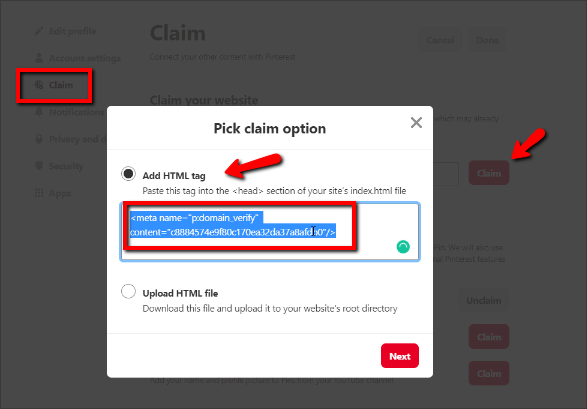
Claim
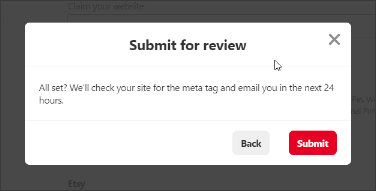
Go to the Claim section and claim your website. Pick the claim option ‘Add HTML tag’ and copy the script to paste it into the <head> section of your store’s indexx.html file. Don’t be afraid, we’ll tell you how it’s really easy.
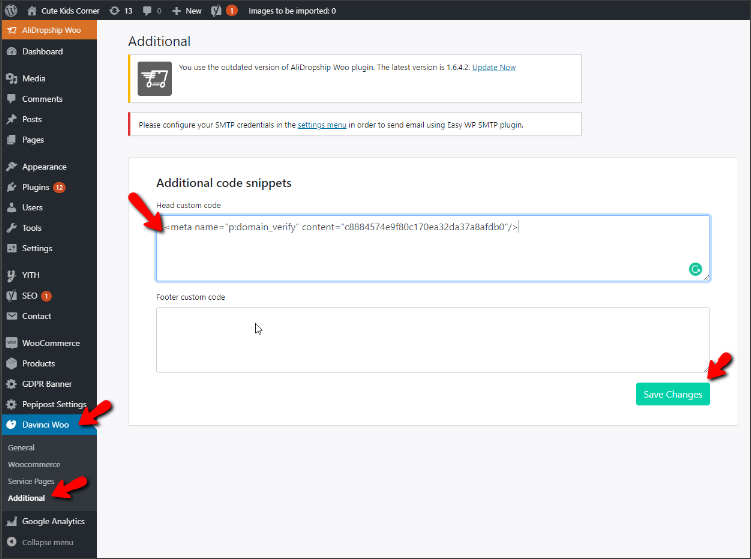
Here’s where we add this code to our store with the Davinci Woo Theme.
Here’s a website built without WooCommerce. Open the Dashboard of your store and go to ‘Customization’. Choose the ‘Head’ section and paste the copied script to the field as shown below:
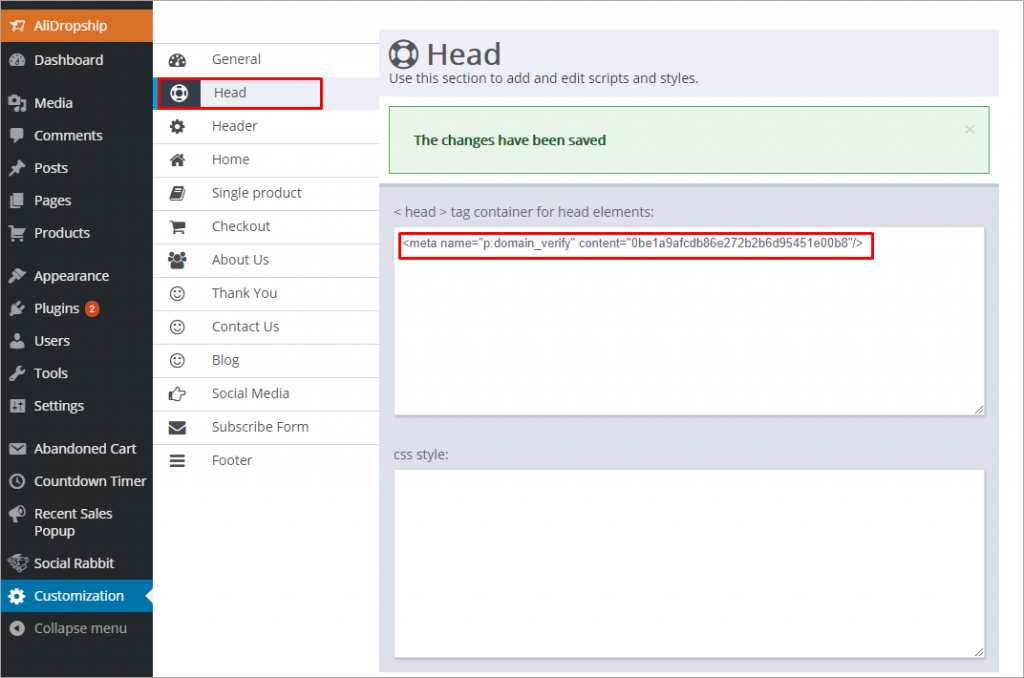
After you paste the code to your site, go back to the Pinterest settings and click ‘Submit’.
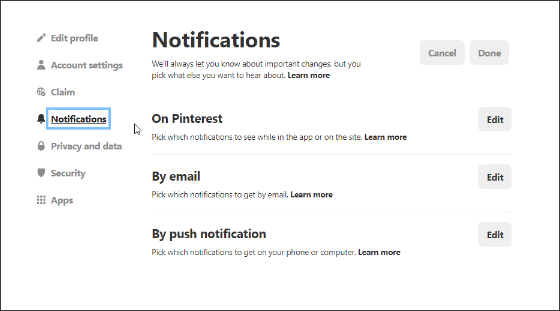
Notifications
If you want to change how you get the notifications from the Pinterest, edit the settings here.
Other profile settings are also optional.
Step 3. Create your first board and make some pins.
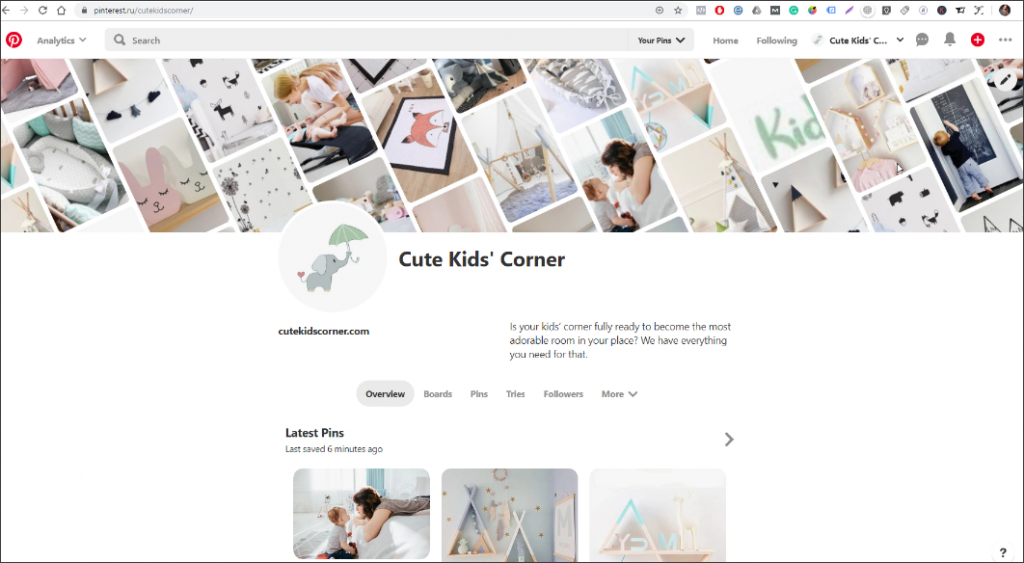
Here is how your profile should look if you made all the recommended actions above.
Posts on Pinterest (pins) are divided into groups by themes. It makes it easier to navigate through the ocean of pins and pick ideas for yourself. To create such a group or so-called ‘board’, press the ‘Create board’ button.
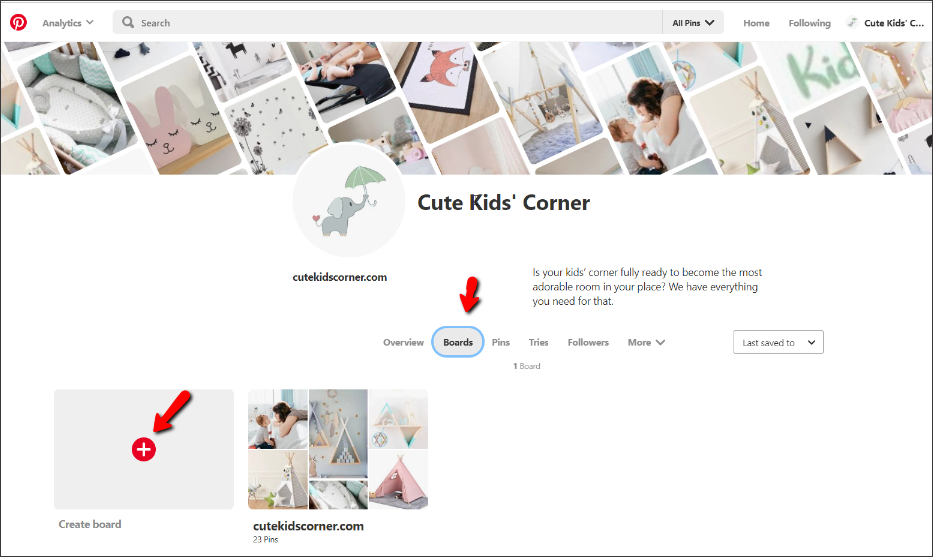
Assign a name to the board and click ‘Create’.
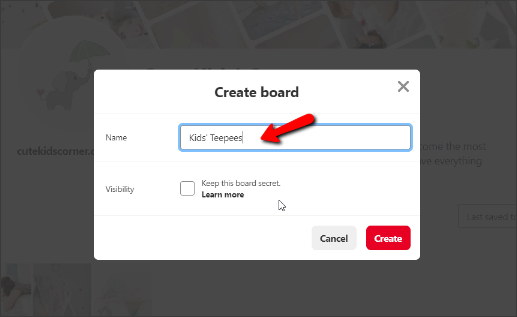
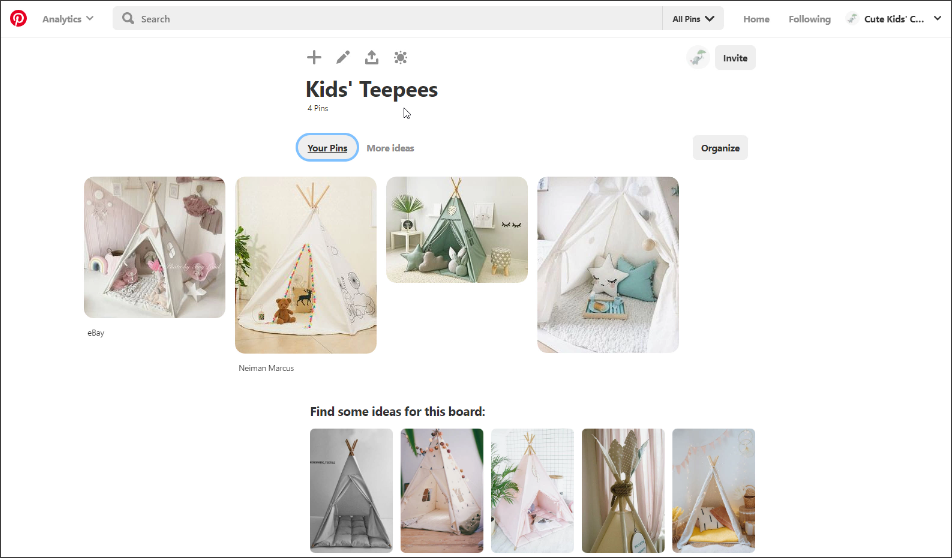
In our Pinterest account, we name boards after our store categories. For example, our demo dropshipping store has such a category as ‘Kids’ Teepees’, so we’ll create such a board in our Pinterest account and fill it with pins featuring teepees we sell. Such a method of organizing pins and boards is pretty effective as your profile visitor can see all your products from one category at once.
Let’s flood your boards with pins! For that, go to the chosen board and choose a product photo you want to place here.
Give a detailed description with keywords: mention product title, price, material (same as on the site), free worldwide delivery. Tell how to contact you to buy this item – leave the link to it.
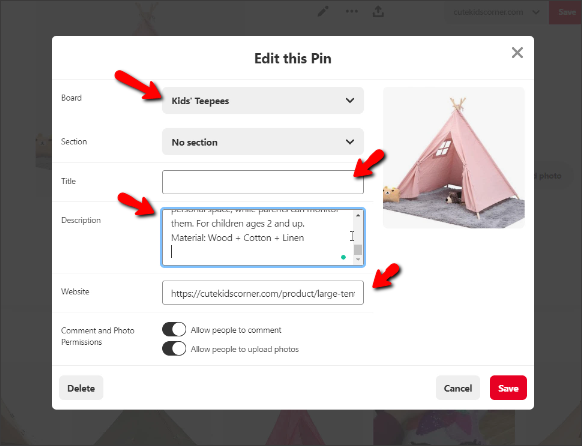
Pinterest recommends publishing vertical images of 2:3 or 1:3.5 ratio and the minimum width of 600 px. These pics do show up.
The majority of Pinterest users are women – 80% – and 50% of them are moms. So, keep in mind that they are your active audience here and present your account content in a relevant way.
Step 4. Check analytics.
Pinterest opens up an opportunity to get statistic data on how users interact with your pins and boards. Look through that data regularly. Here’s what you can learn from it:
- Which boards and pins are most popular among your profile visitors
- Which of your pins people save to their boards
- Who is your target audience on Pinterest – gender, age, location, interests
- Which devices people use to save your pins
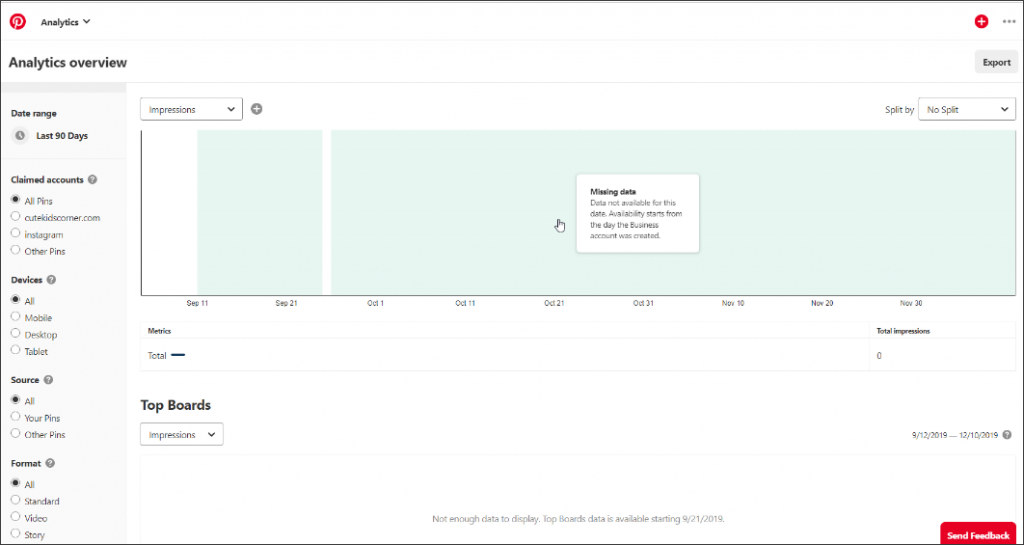
You’ll see some data after some time. Use it for your future store promotion settings.