Step 5.5. Create and set up your store accounts in social networks: YouTube Channel
One of the most effective ways to promote your store is to create a YouTube channel. This article will help with it!

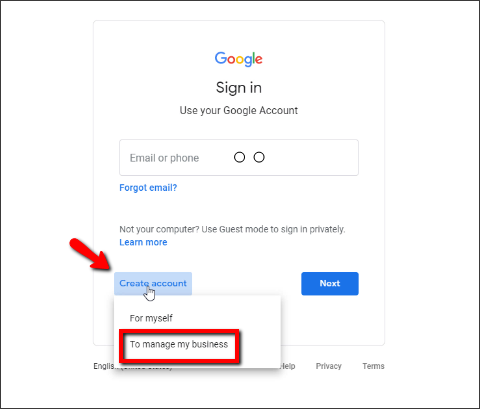
Step 1. Sign in or create a Google account.
Go to youtube.com and click ‘Sign in’ in the top right corner. If you already have a Google account, just enter your email and password. If you haven’t one, create it following instructions.
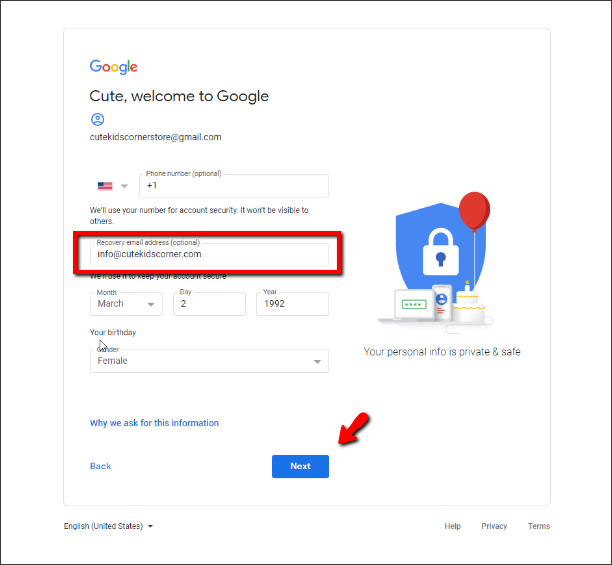
Don’t forget to add the recovery email address. We used our business email.
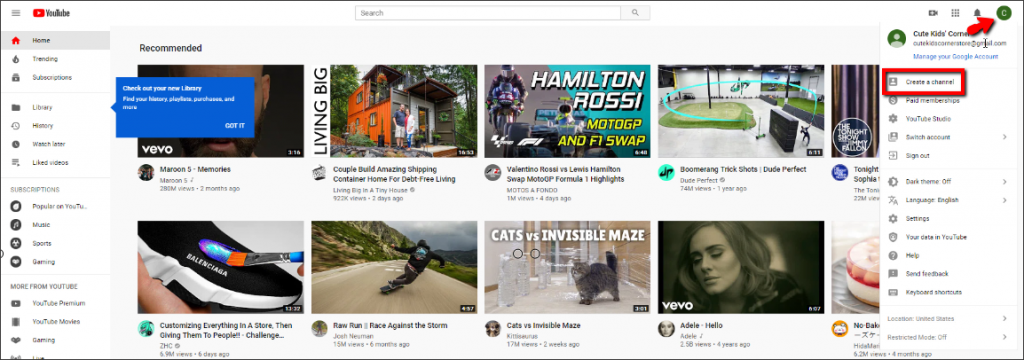
Step 2. Create your channel.
After you’ve signed in, click ‘Create a channel’ in the drop-down menu on YouTube.
You’ll see the channel creation form where you can call your store whatever you like. It’s better if your store name coincides with the name of the channel.
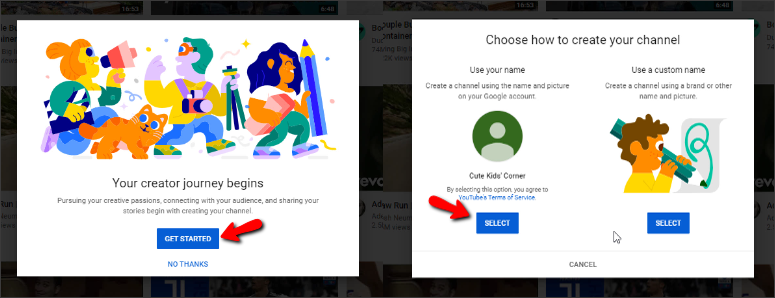
Press ‘Get started’ and ‘Select’ buttons. Here it is – your new-made YouTube channel!
Step 3. Edit your channel
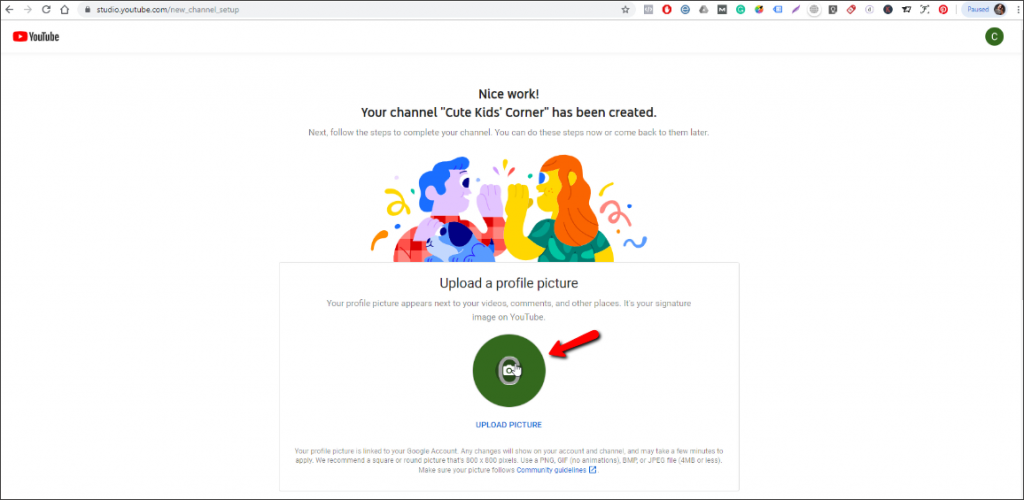
As an avatar, you can use one of the suggested images or upload a pic from your computer. The avatar could feature your store name.
Don’t ignore the avatar picture: it is connected with your photo in Google+ by default. You can replace it with any other pic or logo (of course, it would be perfect if this pic reflected your shop idea).
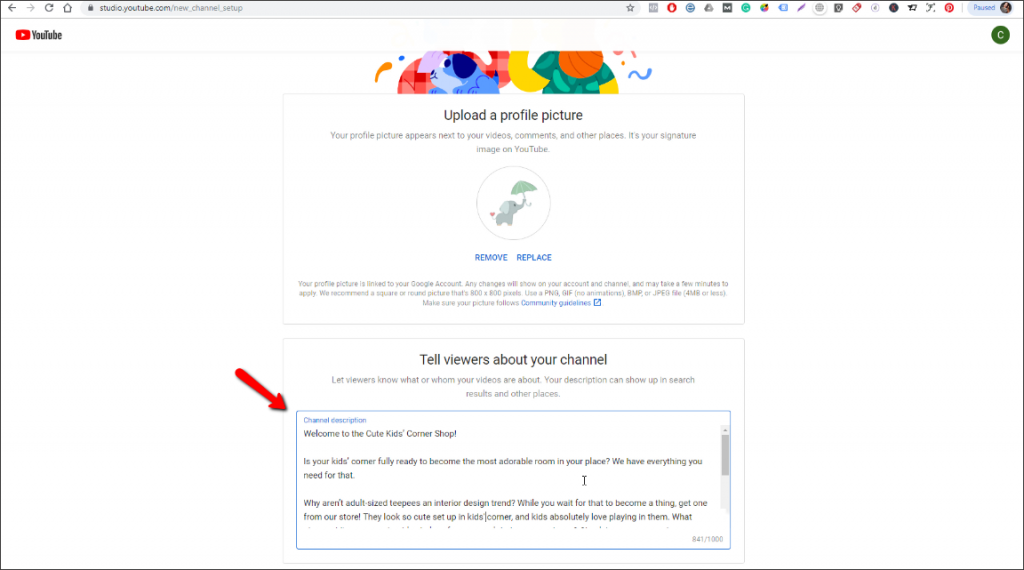
After you upload your picture, edit your channel description. Write something about your store and your channel.
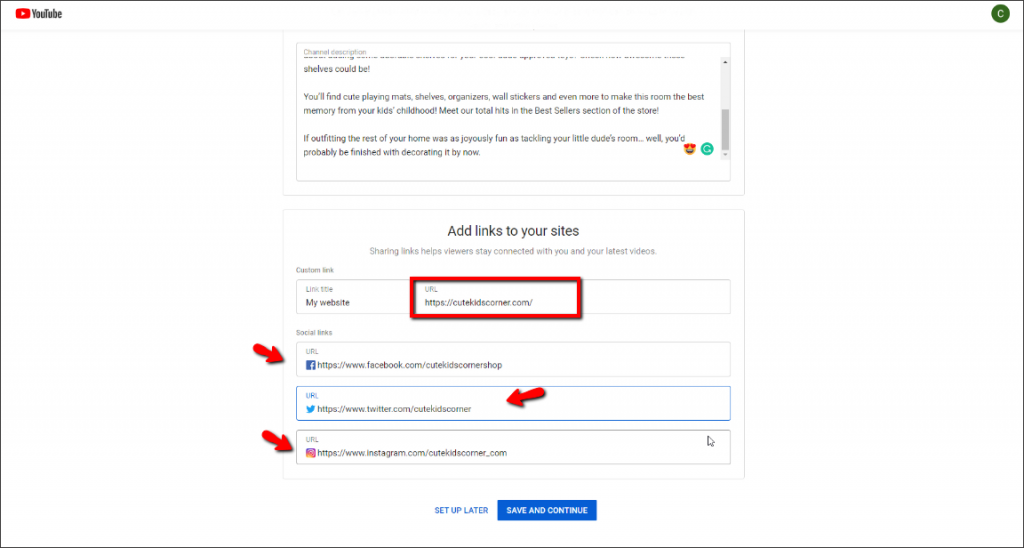
Scroll down to add the links to your website and social media pages. Don’t forget to save your settings.
Choose the channel art – the page will become more appealing this way.
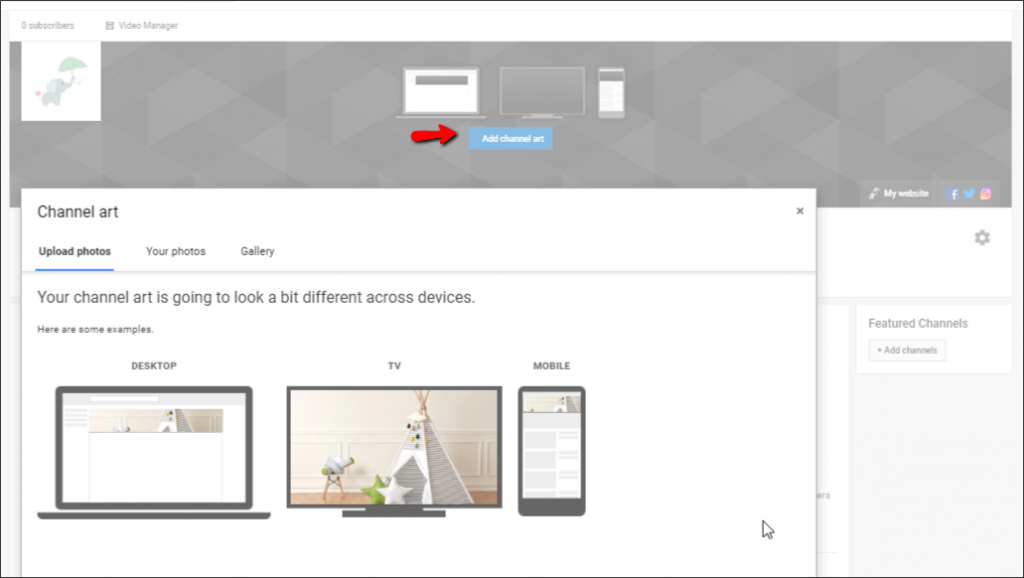
The recommended resolution is 2560*1440 px, but it’s optional. Pay attention that the cover will look different on different devices. On tablets and smartphones, the cover is cropped up to 1546*423 px in the middle – that’s why you have to make sure the cover you upload is of the right ratio.