Step 5.3. Create and set up your store accounts in social networks: Twitter
Twitter is a platform that allows sending short messages (up to 140 characters) called twits to your followers. You can attach any photos, videos, and links leading to blogs, websites, and documents here.

With Twitter, you can promote your store in real-time mode. And the best part – promotion won’t require any additional costs! Cos it would be a mistake to lose the opportunity of free promotion, we created this simple instruction on how to create and edit a Twitter account for your store.
Step 1. Create a profile.
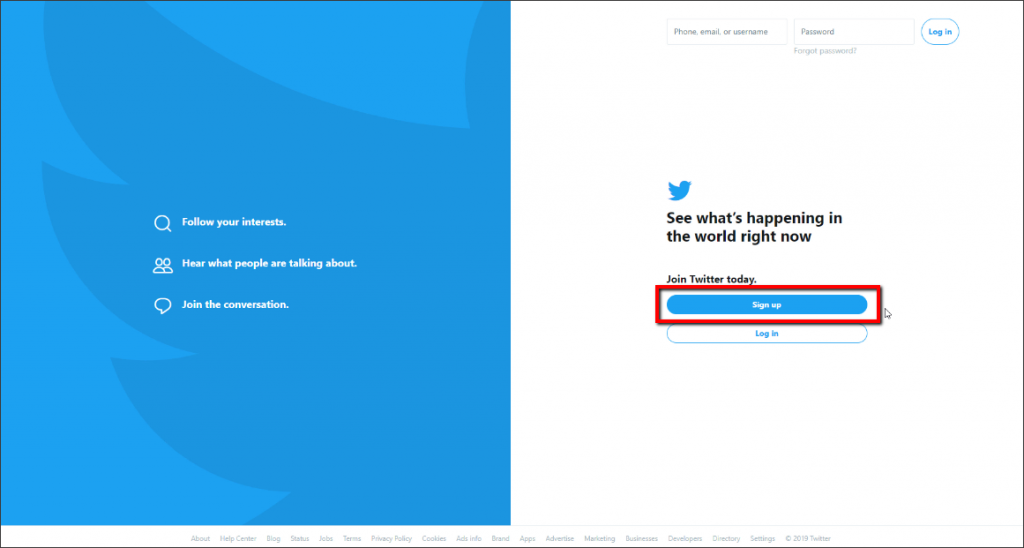
Open twitter.com, click ‘Sign Up’ to create a profile for your dropshipping store.
Enter your profile name. We do it for our shop, so we called the profile cutekidscorner.
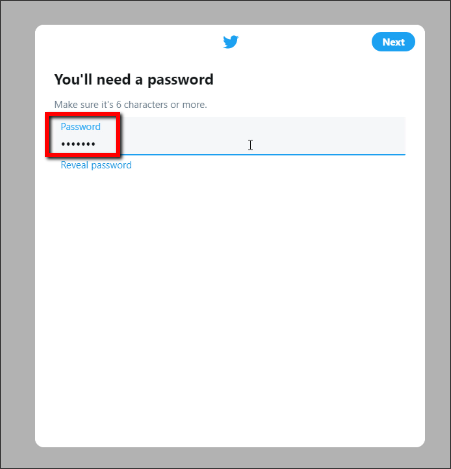
You can change profile name in settings later. Enter an email or a phone number. Press the‘ Sign Up’ button. Make up a password to login to your account.
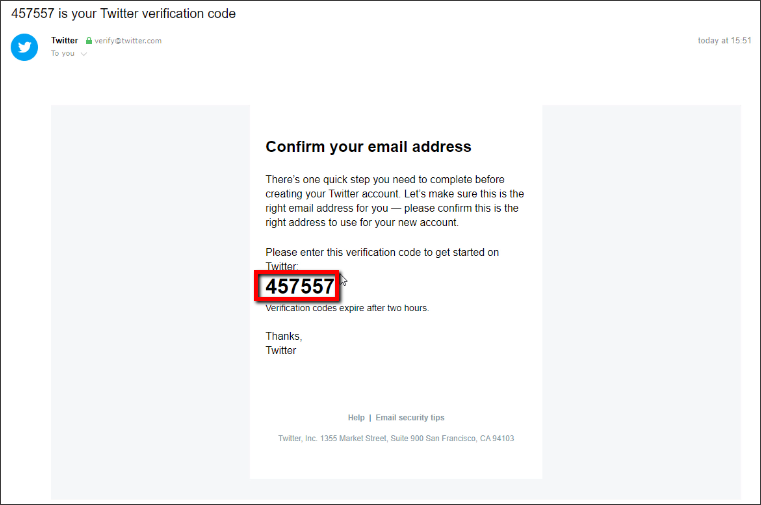
We used our official store email so Twitter sent us a confirmation code. Copy and paste it to confirm your email address.
Then you should upload your profile picture. Profile avatar is of a square-shaped photo (that will be round then) that displays next to every twit you publish. Use your store logo as an avatar.
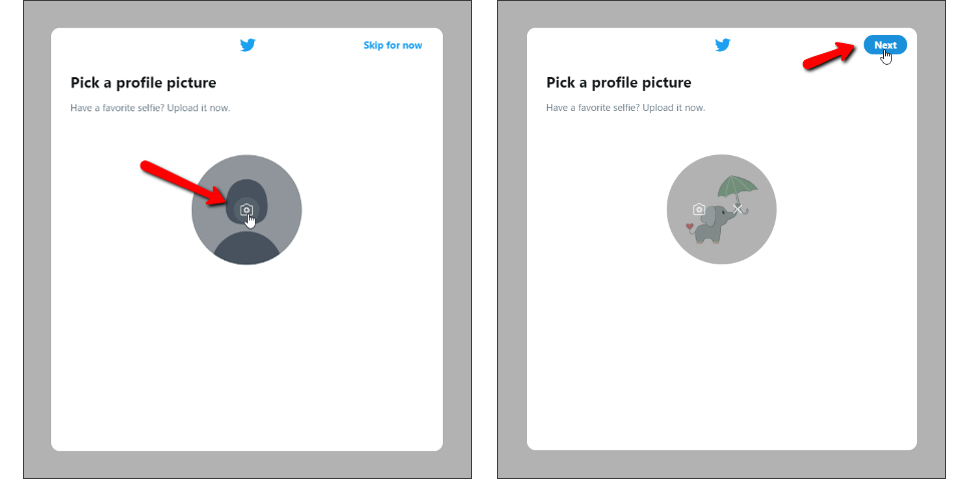
It’s important to keep the corporate identity in all social network accounts of your store, so try to pick the same logos, photos and names for all your store accounts. This will increase the trustability of users, make them get used to your store and easily identify it.
Step 2. Edit your profile and make it look nice
After the registration, you’ll enter your homepage. Go to your ‘Profile’ from the left menu and select ‘Edit Profile’.

- Header photo
Header photo is a big background image at the top of your profile that kinda tells more about your store. Upload it here.
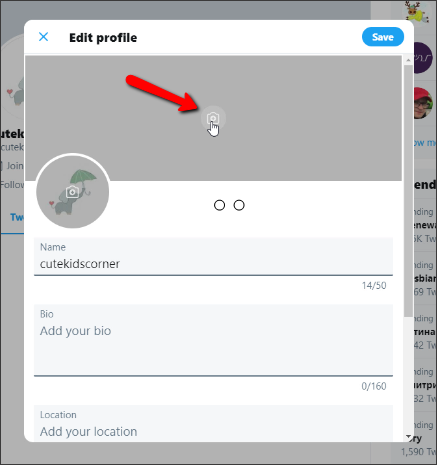
Don’t forget to click ‘Apply’.
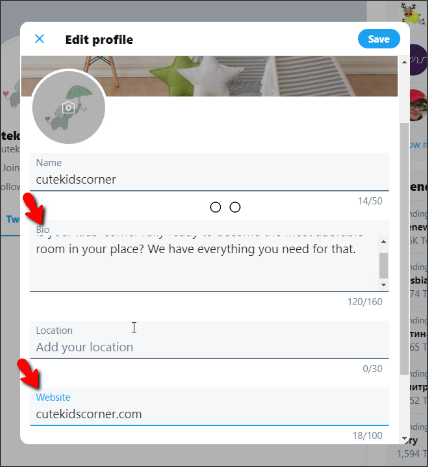
- Profile description
You can change your store name here if you want. But remember – it should coincide with your store name so all Twitter users could easily find your store and identify it.
Profile description also includes brief info about your store – a couple of sentences telling what your store is about, your store location (choose the country) and the link to your store site. Fill everything in.
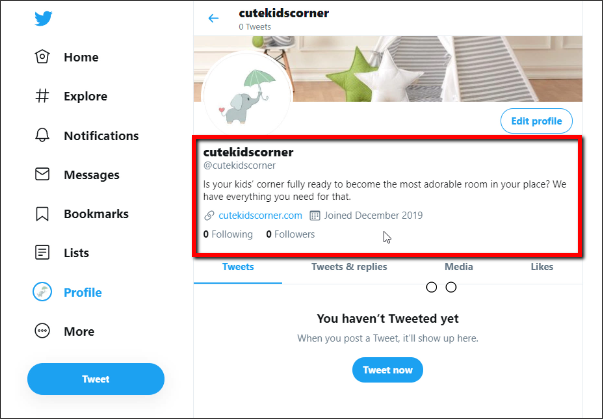
This is what your store looks like when you’ve uploaded photos and added a description.
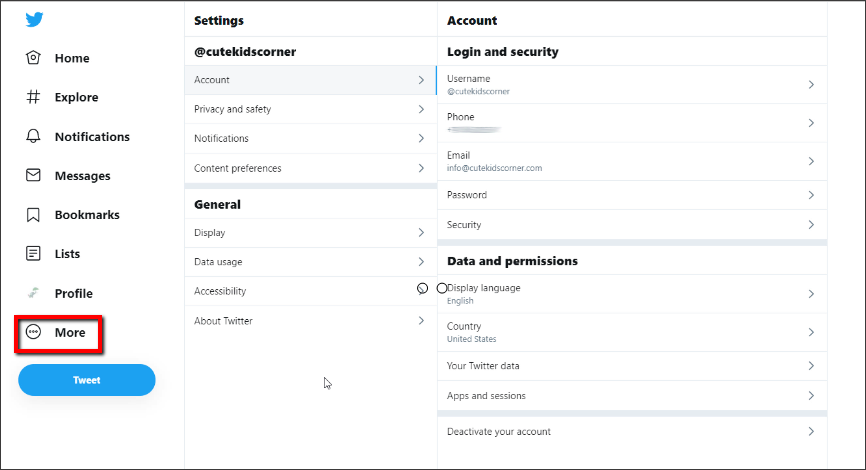
- Settings and Privacy
This section allows to manage your account – change profile name, password, email or phone number connected to account, language, set notifications, etc.
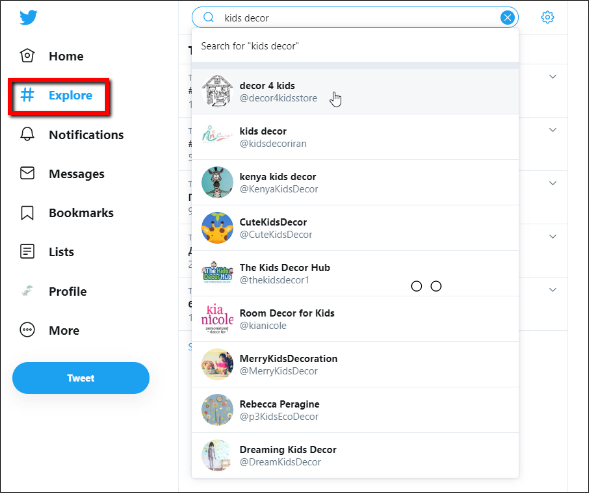
Step 3. Follow other users
Subscribe to the pages that have the same theme as your store has. Try to find popular profiles with dozens of thousands or even millions of followers to show your store this way.
Note: Twitter has some strict regulations on aggressive following and aggressive manner of adding users to lists (it means in bulk in a short period of time). So, be careful and don’t follow too many accounts at once if you don’t want your new-made account to be blocked.
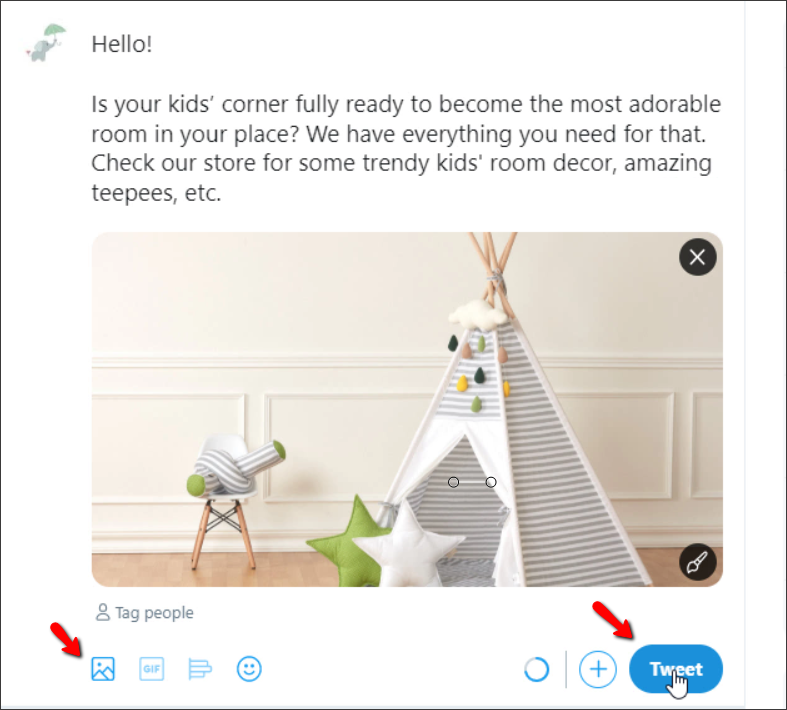
Step 4. Make the first twit
An ideal first twit would invite users to follow you and stay updated about your store news and offers.
Make next twits trying to find out what your target audience wants to read and what content is favorable for your store promotion. The best kind of twits is onе that tells what benefits your potential customers can get from your products. In addition, alternate such product posts with entertaining twits so your followers can stay interested in your account.